Crafting confident smiles, digitally.
Every clear‑aligner journey starts as a 3D animation — built stage by stage from your patient’s own scans, so you and your patient can see the final smile before the first tray is ever printed.

The treatment setup is a 3D animation, built from your patient’s own scans.
These images showcase the patient’s dentition, reflecting the work of our technicians based on either PVS impressions or intraoral scans submitted at case intake — turned into a step‑by‑step movement plan you can review, adjust, and approve.
A collaborative process, staged like the trays themselves.
It’s evident that the Treatment Setup is a dynamic process involving careful collaboration, visualization, and decision-making — from first review to the files that go to your printer.
Digital Treatment Planning
The Treatment Setup serves as the foundation for planning your patient’s clear‑aligner treatment. It outlines the step‑by‑step movement of teeth needed to reach the agreed outcome — reviewed together before anything is printed.
Explore customization →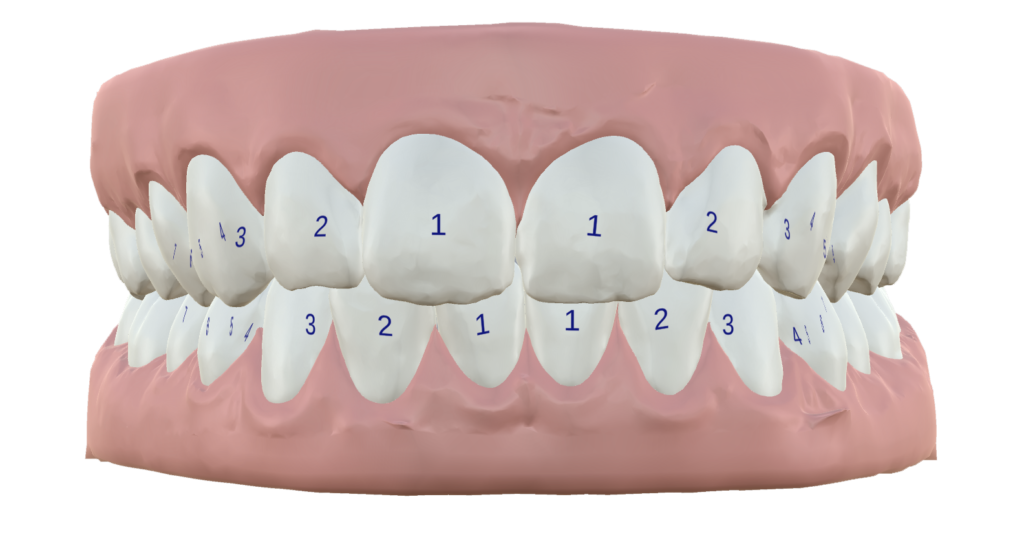
You stay in control of every movement.
Once you provide records, our team takes 24–48 hours to build the treatment setup — you’ll get a notification the moment it’s ready. From there, you can view, modify, or approve the setup using your provided link, so the plan always matches your goals before we move to printing.
One setup, seven jobs across the whole case.
The Treatment Setup doesn’t stop working after approval — it becomes a reference point for every conversation and checkpoint that follows.
Patient Communication
Shared via the patient link, the setup helps explain treatment goals and outcomes — especially useful when discussing progress or non‑compliance.
Treatment Monitoring
Compare actual progress against the digital simulation to confirm everything is on track, and adjust when it isn’t.
Engager Placement
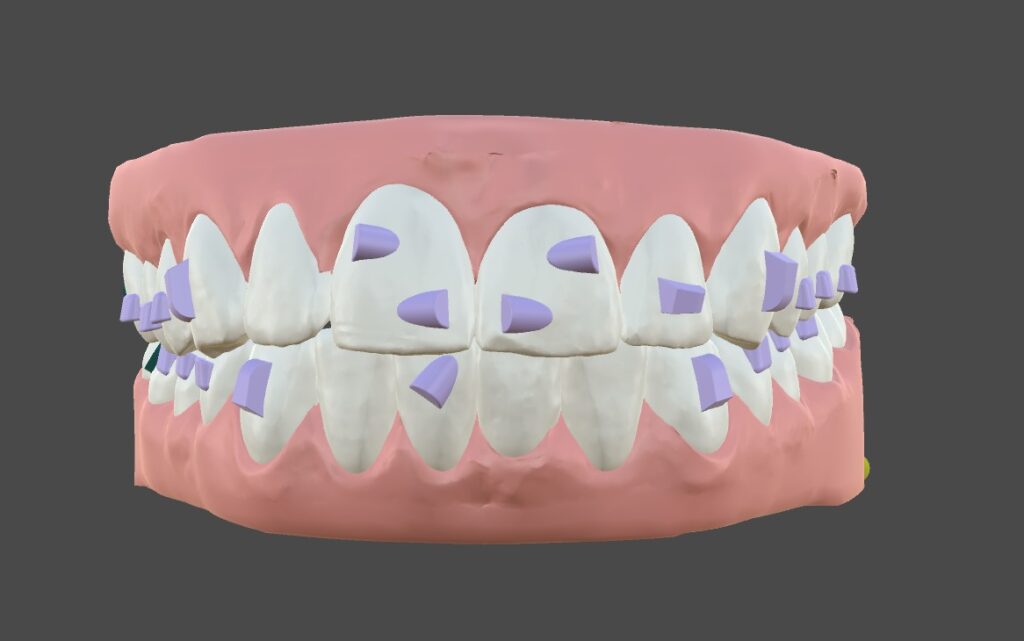
The setup identifies optimal locations for engagers, aiding controlled tooth movement across each stage.
IPR Planning
Interproximal Reduction is planned directly in the setup, identifying where minimal enamel reduction creates the space you need.
Compliance Checkpoints
Specific checkpoints along the journey help you confirm patient compliance and steady progression.
Archiving & Records
Completed cases are archived and retained for at least two years for reference, documentation and history.
Three steps to a confident review.
Guidelines you’re welcome to adapt — it’s always your responsibility to tailor the plan to each patient.
Review technician’s notes
Start by checking for any notes from our technicians. Take specific instructions into account before proceeding; if there are none, move to the next step.
Assess the bite setting
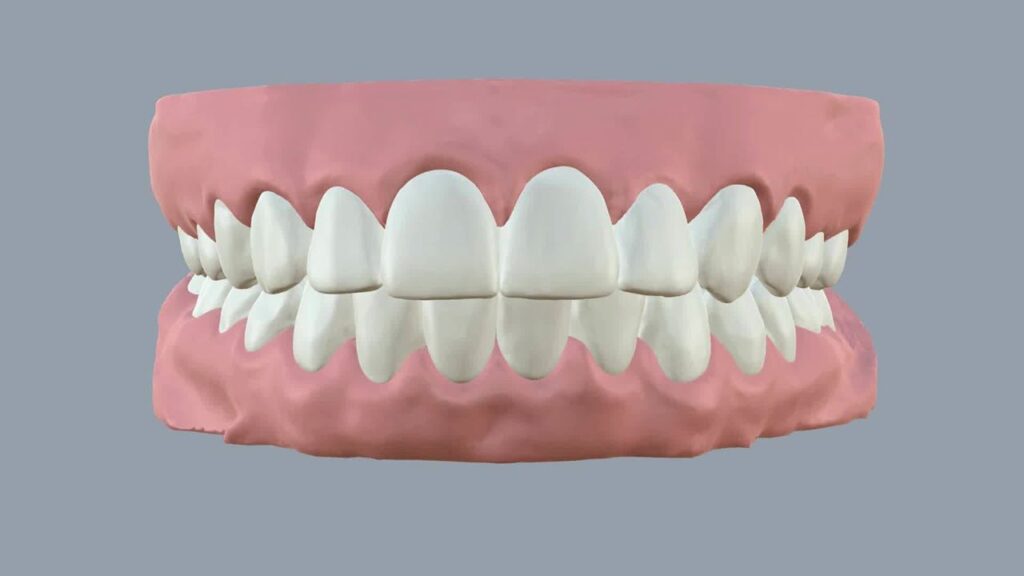
Evaluate the bite alignment carefully. Angle the timeline to its initial position and inspect the area between the upper and lower incisors for gaps that might signal an inaccurate bite registration.
Compare with your treatment plan
Confirm the proposed tooth movement matches the approach you had in mind for this patient.
Questions to ask while reviewing a setup.
Six prompts we suggest working through before you approve any Treatment Setup.
What our technicians flag — and why.
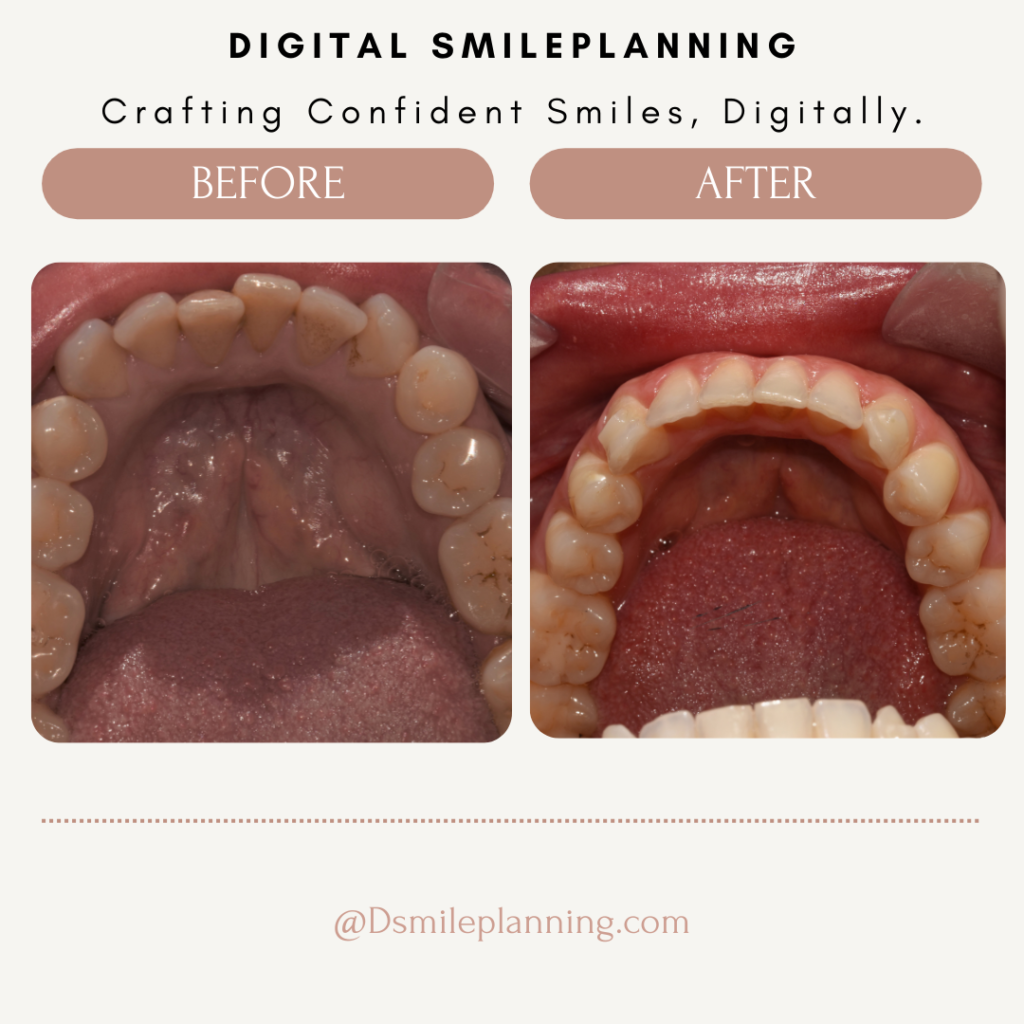
Some notes need your reply before your Treatment Setup can move forward; others are simply for your awareness.
Tailored to exactly how you treat.
IPR options — which teeth, when during treatment, how much (none to limited), and any expansion preferences.
Engagers, cutouts & bite ramps — you control placement and presence; communicate your preferred approach at case submission or while reviewing the setup.
Your input guides us in building a plan that matches your expectations exactly. Questions any time — we’re here to help. 😊🦷
Ready to see your patient’s smile, staged?
Send your records over and receive a full 3D treatment setup within 24–48 hours — reviewable, editable, and yours to approve.